Takeoff Distances and Field Length
The take-off distances are the lengths an aeroplane needs to get airborne or to stop: the take-off run and the take-off distance to a screen height, and the accelerate-stop distance for an abandoned take-off. Each must fit within the matching declared distance of the runway.
Before every take-off the crew must know that the runway is long enough, not only for a normal departure but for the worst case the rules assume: an engine failure at the most awkward moment, followed either by a stop on the remaining pavement or by a continued take-off on the remaining engines. The flight manual gives the distances the aeroplane needs. The aerodrome publishes the distances it offers. Take-off field length planning is the comparison of the two.
For large aeroplanes certified to CS-25 or 14 CFR Part 25 and operated in Performance Class A, three required distances are computed for every departure: the take-off run required (TORR), the take-off distance required (TODR) and the accelerate-stop distance required (ASDR). Each must fit its declared counterpart: TORR within the take-off run available (TORA), TODR within the take-off distance available (TODA) and ASDR within the accelerate-stop distance available (ASDA). EASA places the rule in CAT.POL.A.205 of Part-CAT, and the FAA in 14 CFR 121.189. All three must be met at once, and whichever binds first sets the field-length-limited mass (see take-off mass limitations).
Take-off run and ground roll
The ground roll, or take-off ground roll, is the distance from brake release to the point where the wheels leave the runway. Light-aeroplane handbooks publish it next to the take-off distance over a 50 ft obstacle, the distance from brake release until the aeroplane is 50 ft above the surface. At high density altitude the total can be nearly twice the ground roll. Both figures assume the chart's stated flap setting, technique and a new aeroplane, so a normal technique on a short runway needs more than the chart shows.
For Performance Class A the take-off run (TOR) is not the ground roll. It ends at a point midway between the lift-off point and the point at which the aeroplane is 35 ft above the take-off surface. The take-off run required is the greater of two figures:
- the take-off run with the critical engine failing at VEF;
- 115 per cent of the take-off run with all engines operating.
Because TORR includes only half of the airborne distance to the screen, it is shorter than TODR. It becomes the binding check only when a clearway is used, because it guarantees that the first half of the air distance is flown over the runway itself rather than over the clearway.
Take-off distance and screen height
The take-off distance (TOD) runs from brake release to the point where the aeroplane reaches the screen height, a notional height above the take-off surface at the end of the distance. For Class A the take-off distance required is the greater of:
- the distance to 35 ft with the critical engine failing at VEF, the one-engine-inoperative take-off distance;
- 115 per cent of the distance to 35 ft with all engines operating.
The 15 per cent factor gives the all-engines take-off, the one flown almost every time, a margin of its own.
On a wet runway the one-engine-inoperative distance is measured to a 15 ft screen instead, provided V2 is reached by 35 ft, and the dry-runway distance still applies as a minimum. A wet runway lengthens the stop, so V1 must fall; the lower screen lets the continued take-off from that lower V1 fit without a heavy mass penalty. EASA applies the same 15 ft screen on contaminated runways (see wet and contaminated runways).
Performance Class B, propeller aeroplanes with no more than nine passenger seats and a maximum take-off mass of 5,700 kg or less, uses a 50 ft screen and a simpler factored rule for commercial operations. With no stopway or clearway, the gross flight manual take-off distance multiplied by 1.25 must not exceed TORA. Where a stopway or clearway is used, three conditions apply together: the unfactored distance must not exceed TORA, 1.15 times it must fit within TODA, and 1.3 times it must fit within ASDA.
Exam tip: screen heights depend on class and phase. A Class A take-off uses 35 ft on a dry runway and 15 ft for the one-engine-inoperative case on a wet or contaminated runway. A Class B take-off uses 50 ft. Landing distances, for all classes, are normally measured from 50 ft above the threshold.
Accelerate-go and accelerate-stop
The certified take-off assumes that the critical engine fails at the engine failure speed VEF, and that the crew has recognised the failure and taken the first action by V1 (see take-off speeds V1, VR and V2). From that point there are two ways to finish the take-off.
The accelerate-go case continues on the remaining engines: the aeroplane accelerates to VR, rotates and reaches the screen height at V2 or above. Its length is the one-engine-inoperative take-off distance, which FAA and Boeing texts call the accelerate-go distance.
The accelerate-stop case is a rejected take-off (RTO). The accelerate-stop distance covers acceleration with all engines to VEF, continued acceleration to V1 with the critical engine failed, and a stop using the certified technique. Since FAA Amendment 25-92 of 1998, mirrored in CS-25, it also includes a distance equal to 2 seconds at V1. The FAA stresses that this is not extra thinking time at V1; it covers the normal variation in how quickly crews complete the stopping actions.
On a dry runway no credit is taken for reverse thrust in the accelerate-stop distance. On a wet runway the distance uses the wet braking coefficient and may take credit for reverse thrust. An inoperative anti-skid system lengthens it considerably, and the flight manual then requires a lower V1 and a lower mass.
Rejected take-offs are rare but unforgiving. The analysis behind the FAA Takeoff Safety Training Aid (AC 120-62) found that most rejected take-off overruns followed high-speed rejects, many of them for problems that did not threaten the aeroplane's ability to fly. Manufacturers therefore divide the roll into a low-speed regime, up to 80 kt on Boeing types and 100 kt on Airbus types, in which the crew stops for any significant failure, and a high-speed regime in which only major failures justify a stop (see runway excursions).
Stopway and clearway
The aerodrome publishes four declared distances for each runway direction in its AIP entry. Under ICAO Annex 14:
- TORA is the length declared available for the ground run of an aeroplane taking off;
- TODA is TORA plus any clearway, and never more than 1.5 times TORA;
- ASDA is TORA plus any stopway;
- LDA is the length available for the ground run of a landing aeroplane, measured from the landing threshold.
A stopway is a prepared area beyond the end of TORA, as wide as the runway, able to support the aeroplane when it is stopped in an abandoned take-off. It is not used for the take-off run and adds only to ASDA.
A clearway is an area, on the ground or on water, under the control of the aerodrome authority, over which an aeroplane may make part of its initial climb. It starts at the end of TORA, extends at least 75 m either side of the extended centreline and should not be longer than half of TORA. It need not bear the weight of an aeroplane, so it adds only to TODA. The FAA's definition in 14 CFR Part 1 calls for a clearway at least 500 ft wide.
The differences between the figures reveal the layout. At Nice, runway 04R has a TORA of 2,963 m, a TODA of 3,503 m and an ASDA of 2,963 m: a 540 m clearway and no stopway. A displaced threshold reduces the LDA in that direction but not the take-off distances. Declared distances can be shortened temporarily by NOTAM, for example during works, and the calculation must use the figures in force.
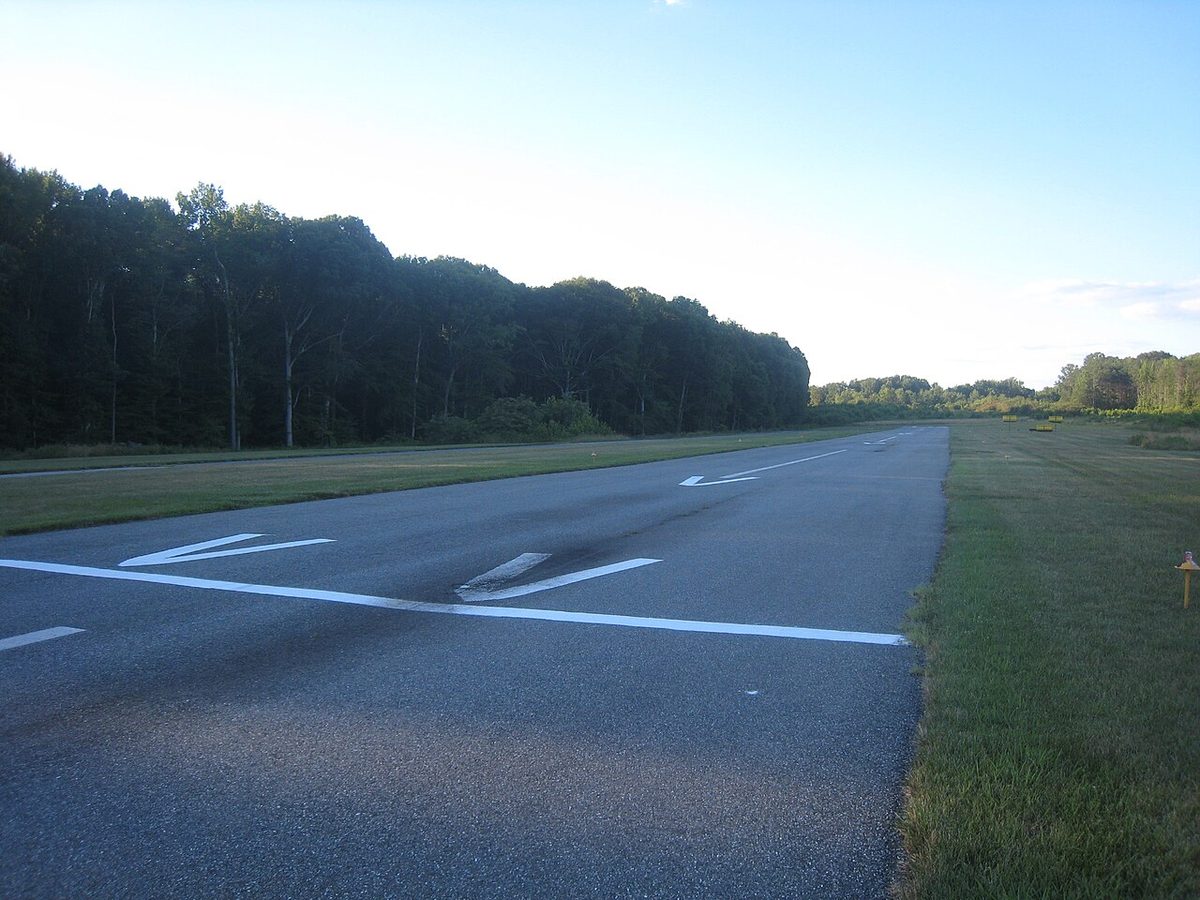
Note: the FAA's Part 121 rules also speak of the effective runway length, but for landing: the length from the point where the approach obstruction clearance plane meets the runway centreline to the far end.

Balanced field length
V1 couples the two failure cases. Raising V1 lengthens the accelerate-stop distance, because the stop starts at a higher speed and further down the runway. It shortens the one-engine-inoperative take-off distance, because more of the acceleration is done with all engines. At one particular V1, the balanced V1, the two distances are equal. That common distance is the balanced field length: the shortest field that satisfies both cases at a given mass.
A runway is balanced for this purpose when ASDA equals TODA, which is the case when it has neither stopway nor clearway, or has both of equal length. The balanced V1 then gives the highest field-limited mass.
V1 cannot be chosen freely, however. It may not be less than VEF plus the recognition allowance, with VEF itself no lower than VMCG, nor more than VR or the maximum brake energy speed VMBE (see minimum control speeds and brake energy and tyre speed limits). When a balanced V1 would fall outside these limits, the achievable V1 is capped and the field length needed grows.
Exam tip: the balanced field length is a required distance for a given mass and set of conditions, not a property of the runway. When the runway is longer than the balanced field length, V1 can be chosen within a range: a lower V1 favours the stop, a higher V1 the continued take-off.
Unbalanced field length
When a stopway or a clearway makes ASDA and TODA different, the field is unbalanced, and the best V1 is no longer the balanced one.
- A stopway makes ASDA longer than TODA. More distance is available for stopping than for going, so V1 can be raised: the stop from a higher speed still fits, and the continued take-off becomes shorter.
- A clearway makes TODA longer than ASDA. Part of the climb to the screen may be flown over the clearway, so V1 can be lowered: the stop becomes shorter, and the longer continued take-off is absorbed by the clearway, within the TORR check.
Performance software searches for the unbalanced V1 that gives the highest permissible mass for the actual distances. A wet runway pushes V1 down in the same way, because it lengthens the stop far more than the go, and a contaminated runway pushes it further still.
Intersection take-off and line-up allowance
An intersection take-off starts from a taxiway part-way along the runway. The length behind the intersection is lost from TORA, TODA and ASDA alike, while the LDA is unaffected. AIPs may also publish declared distances for intersections in common use, and a yellow intersection take-off sign beside the taxiway gives the remaining take-off run available in metres, with an arrow showing the direction.
The performance must be recalculated for the intersection, not just the full-length figures reused. A change of runway or intersection during taxi is a known trap: performance data errors after such changes have caused tail strikes and overruns, so operators require a complete recomputation and an independent cross-check, or else a refusal of the change. On Airbus types the take-off shift, updated with the speeds and the FLEX temperature for an intersection departure, is one of the items both pilots cross-check. On the 737, the intersection is entered on the FMC take-off reference page, because without GPS updating the FMC resets its position to the runway threshold when TO/GA is pressed.
Even a full-length take-off does not start at the very beginning of the runway, and the declared distances make no allowance for lining up. EASA's AMC1 CAT.POL.A.205 therefore says the length used should be taken into account, as a line-up allowance. Two distances are considered: the position of the main wheels, which reduces TORA and TODA, and the position of the most forward wheels, which reduces ASDA. The allowance depends on the aeroplane's geometry and on how it reaches the runway, and usually has to be counted after a 90° entry from a taxiway or a 180° turn on the runway.
Runway width considerations
Runway width does not appear in the distance comparison, but it matters to the take-off in three ways.
Directional control. VMCG, the lowest speed at which a sudden failure of the critical engine can be controlled on the ground, is demonstrated using the rudder alone, without nosewheel steering, with a lateral deviation from the centreline of no more than 30 ft. The narrower the runway, the smaller the margin between that deviation and the runway edge, particularly with a crosswind or a slippery surface.
Manufacturer limits. Flight manuals state a minimum runway width. For the A320 family the nominal width is 45 m and the minimum 30 m.
Turning. A 180° turn on the runway needs width: about 24 m for an A320 and 30 m for an A321 on a dry surface with the recommended technique, without margin. Where the aeroplane must backtrack and turn at the runway end, the length used in the turn is part of the line-up allowance.
Frequently asked questions
What is the difference between take-off run and take-off distance?
For a Performance Class A aeroplane the take-off distance ends where the aeroplane reaches 35 ft above the take-off surface. The take-off run ends earlier, at a point midway between lift-off and that 35 ft point. The take-off run must fit on the runway itself (TORA), while the take-off distance may extend over a clearway (TODA). Each is the greater of the one-engine-inoperative figure and 115 per cent of the all-engines figure.
What is balanced field length?
Raising V1 lengthens the accelerate-stop distance and shortens the one-engine-inoperative take-off distance. At one V1, the balanced V1, the two are equal, and that common distance is the balanced field length. It is the shortest runway that satisfies both the stop and the go case at a given mass when there is no stopway or clearway, so that the accelerate-stop and take-off distances available are equal.
What is the difference between a clearway and a stopway?
A stopway is a prepared surface beyond the take-off run available, as wide as the runway, able to carry the aeroplane during an abandoned take-off. It adds to the accelerate-stop distance available. A clearway is an obstacle-free area, on land or water, over which the aeroplane may make part of its initial climb. It adds to the take-off distance available only, and ICAO says it should not be longer than half the take-off run available.
Why is the take-off distance on a wet runway measured to 15 ft?
A wet runway lengthens the accelerate-stop distance, so V1 has to come down. With a lower V1, an engine failure leaves less speed in hand and the continued take-off takes longer. Measuring the one-engine-inoperative distance to a 15 ft screen, provided V2 is reached by 35 ft, avoids a heavy mass penalty. The dry-runway distance to 35 ft still applies as a minimum, and EASA uses the same 15 ft screen on contaminated runways.
What does the accelerate-stop distance include?
The accelerate-stop distance covers acceleration with all engines to the engine failure speed VEF, continued acceleration to V1 with the critical engine failed, and a stop from V1 using the certified technique. Since FAA Amendment 25-92, mirrored in CS-25, a further distance equal to 2 seconds at V1 is added. On a dry runway no credit is taken for reverse thrust; on a wet runway reverse thrust may be credited.
Does an intersection take-off change the performance calculation?
Yes. Starting from an intersection removes the runway behind it from the take-off run, take-off distance and accelerate-stop distance available, although the landing distance available is unchanged. The take-off performance must be recalculated for the intersection, including the line-up allowance, and the new speeds cross-checked by both pilots. A yellow intersection take-off sign gives the remaining take-off run available in metres.
Test yourself on Takeoff Distances and Field Length
The v1prep banks cover this topic in Performance (032), with a worked explanation for every answer. EASA ATPL, PPL, IR and CPL, the FAA written tests and A320/B737 type ratings.
Start practising →Sources and further reading
- 14 CFR 25.113, Takeoff distance and takeoff run
- 14 CFR 25.109, Accelerate-stop distance
- EASA, Easy Access Rules for Air Operations (CAT.POL.A.205 and its AMC)
- EASA, Easy Access Rules for Large Aeroplanes (CS-25)
- ICAO Annex 14, Aerodromes, Volume I
- FAA AC 120-62, Takeoff Safety Training Aid
- FAA Pilot's Handbook of Aeronautical Knowledge (FAA-H-8083-25), Chapter 11, Aircraft Performance
Library articles are written for study and exam preparation. They do not replace your aircraft's approved documentation, your operator's procedures or the regulations themselves.